

Your cart is currently empty!

Custom Binder Dividers
Do you know someone that has years of saved delicious recipes saved but isn’t organized? I know I do. Below I’ve put together two tutorials on how you can create your own recipe binder dividers. The best thing about this tutorial is that it can be used for more than just recipes and makes for a great craft project to do with the kids.
What you’ll need
I’ve created a list of supplies based on your method. I used Cricut Design Space to design the binder dividers and my Cricut Maker machine to cut the vinyl and dividers. I’ll list the vinyl, transfer paper, card stock, and binders below.
List of Supplies if Using a Cricut machine:
- Cricut machine
- Cricut Cutting mat
- Permanent Vinyl (I used Oracal 651)
- Card stock (I used lightweight card stock from Michael’s)
- Binders (Staples brand 1.5″ Better Binder)
List of Supplies if Doing by Hand:
- Binders (Staples brand 1.5″ Better Binder)
- Binder Dividers (any brand will work)
- Stickers (alphabet and decorative)
If you’re designing and cutting the materials using your Cricut or Silhouette machine, prepare to devote a few hours to the project. However, if you’re buying the dividers and stickers, project time will be shorter depending on how many dividers and binders you plan on making. Overall, I’d rate the experience level of this project between beginner and intermediate.
So How Do We Do This?
By Hand:
Once you’ve acquired all your supplies, find a relaxing spot in your home and get comfy. I like to put a tv show on in the background and usually have my favorite drink and snacks nearby. When you’re ready, proceed to the decoration process.
Design Space:
Below I’ve added a video on how to make the binder dividers in Cricut Design Space.
Design space continued
Once we’re ready to cut, click Make It in the upper right-hand corner. Make sure your machine is on and connected; click continue in the lower right-hand corner. That should bring you to the cut screen. Select the material you wish to cut (depending on the machine, you’ll either have to adjust the dial or select the material choice on the cut screen). If you are cutting your decals, you’ll want to select premium vinyl; if you are cutting the dividers, you’ll want to select cardstock. Once the correct material has been selected, place the material on the cutting mat and load it into the machine, The C cut button should be flashing; press it, and the machine should begin the cutting process. Once each material is done cutting, unload the machine, place the next material onto the mat and begin the process all over again. When you have all the necessary cuts, it’s time to decorate. Find a relaxing spot and get comfortable. I recommend putting on a tv show or your favorite music and grabbing your favorite drink and snack.
Let’s decorate!
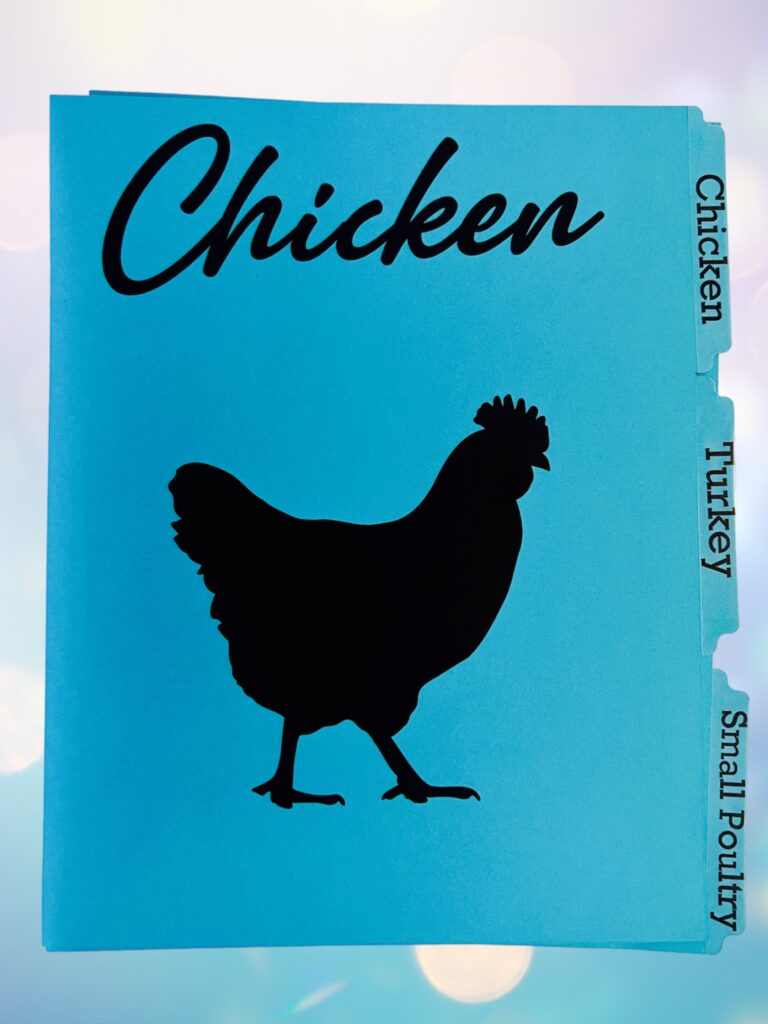
When you’re ready, we’ll begin adding our elements to the dividers. I’ve added a few photos as a walkthrough of my decoration process. Since this is a gift, I wanted to make it as simple yet elegant as possible (the receiver is a simple but elegant individual).
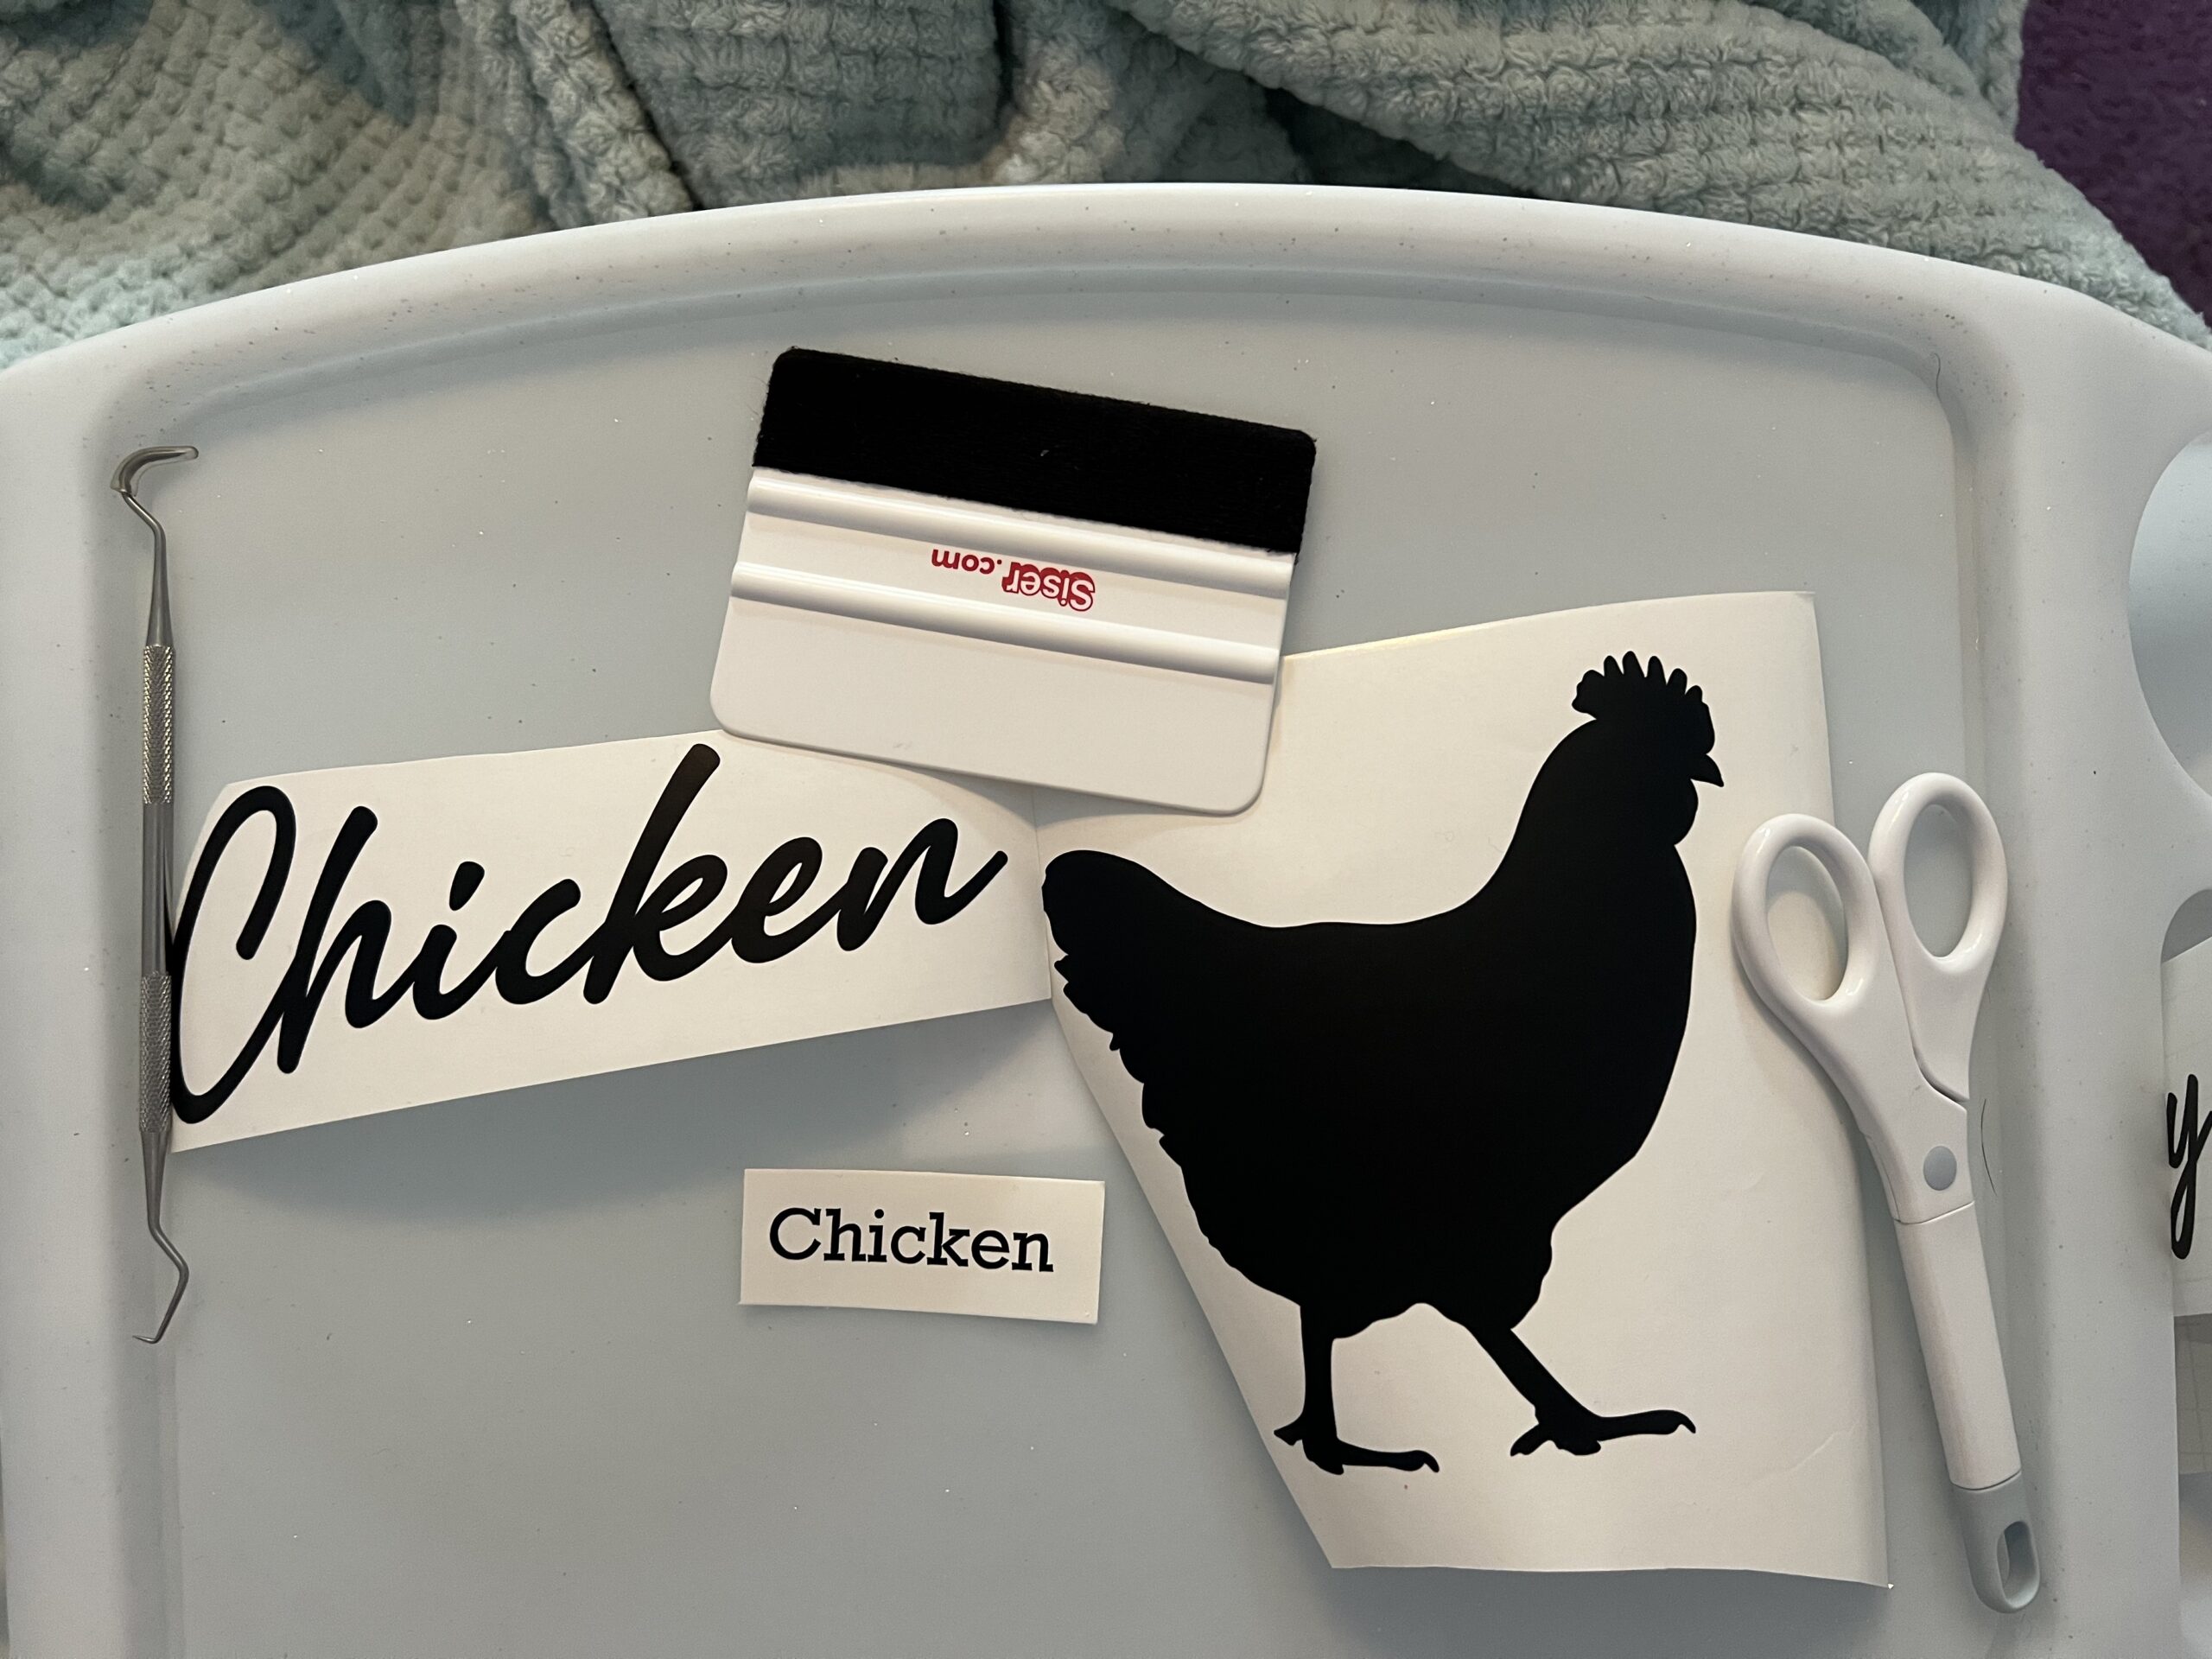
You’ll have to weed the vinyl if you used your Cricut or Silhouette machine. Otherwise, gather your supplies in one area. I used a lap tray from Micheals.
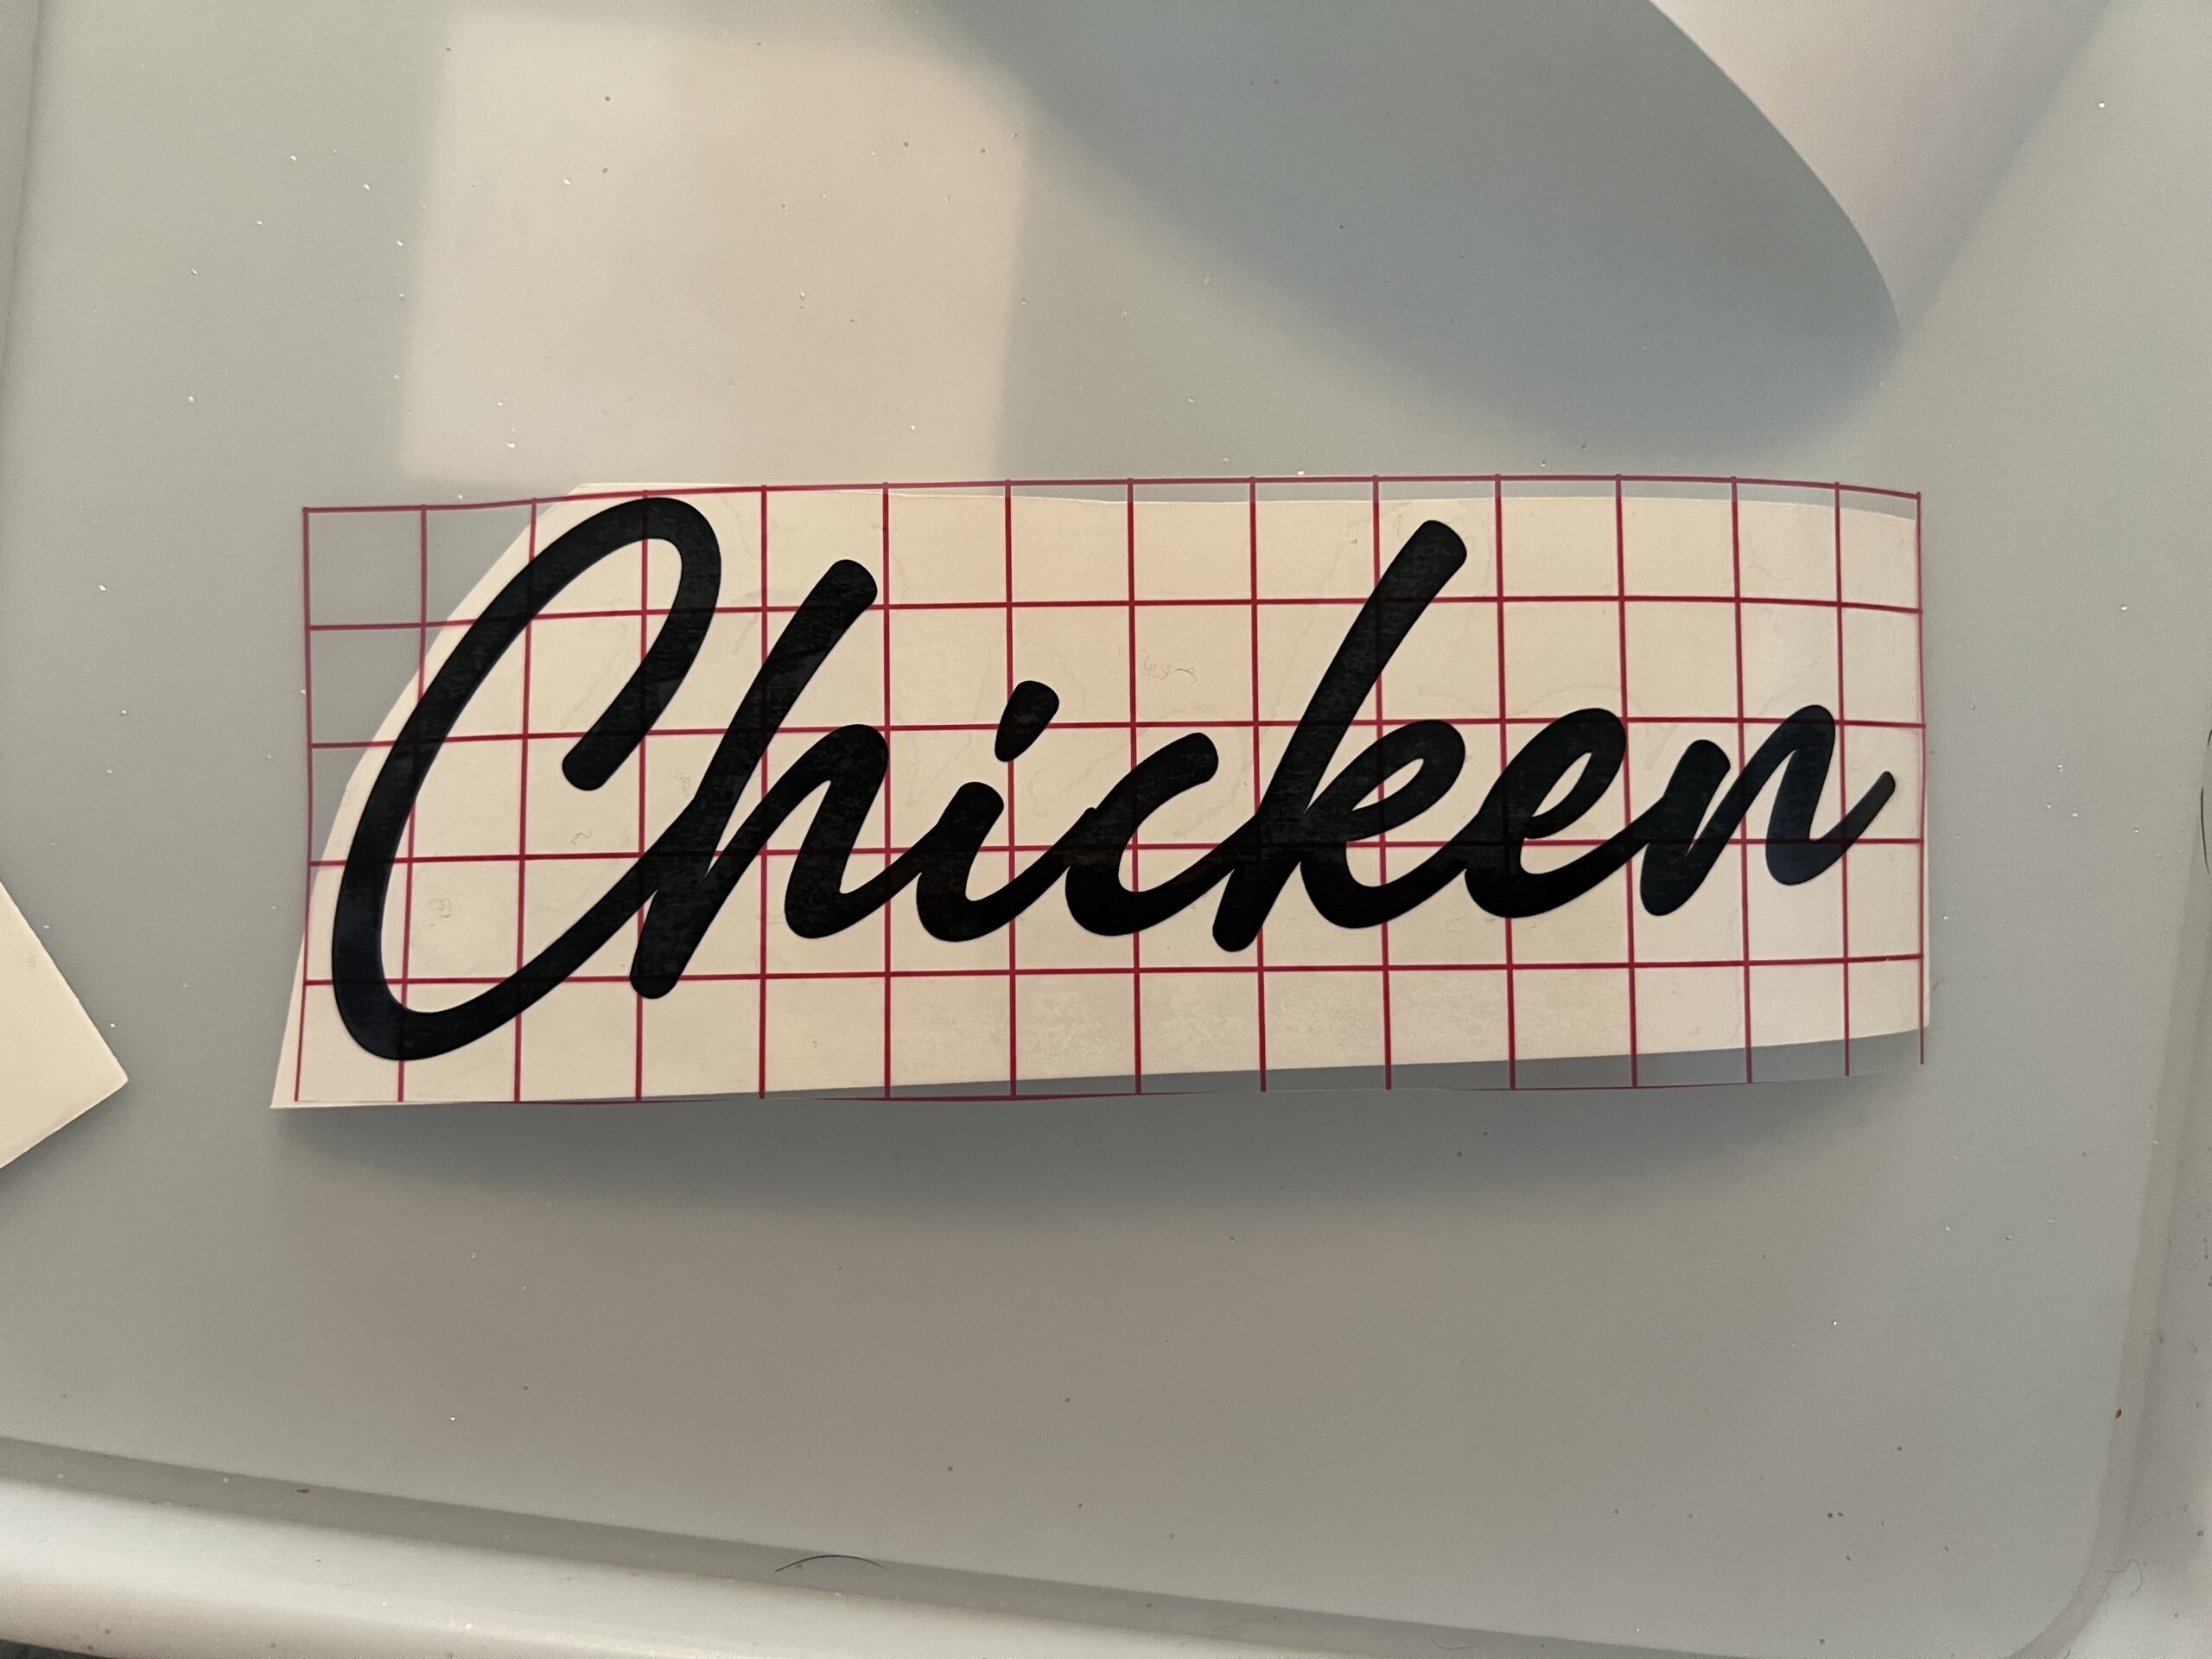
If you’re not using a Cricut or Silhouette machine, you can skip to the next step. Begin by applying transfer tape to the vinyl to make the application process more manageable. Make sure you rub the front and back sides of the vinyl with your scraper tool to ensure proper adhesion to the transfer tape. If it seems like the vinyl isn’t sticking to the transfer tap, use the scraper to apply pressure to the backside of the vinyl as you lift the backing away from the transfer tape. You’ll do this for each piece of vinyl you cut.
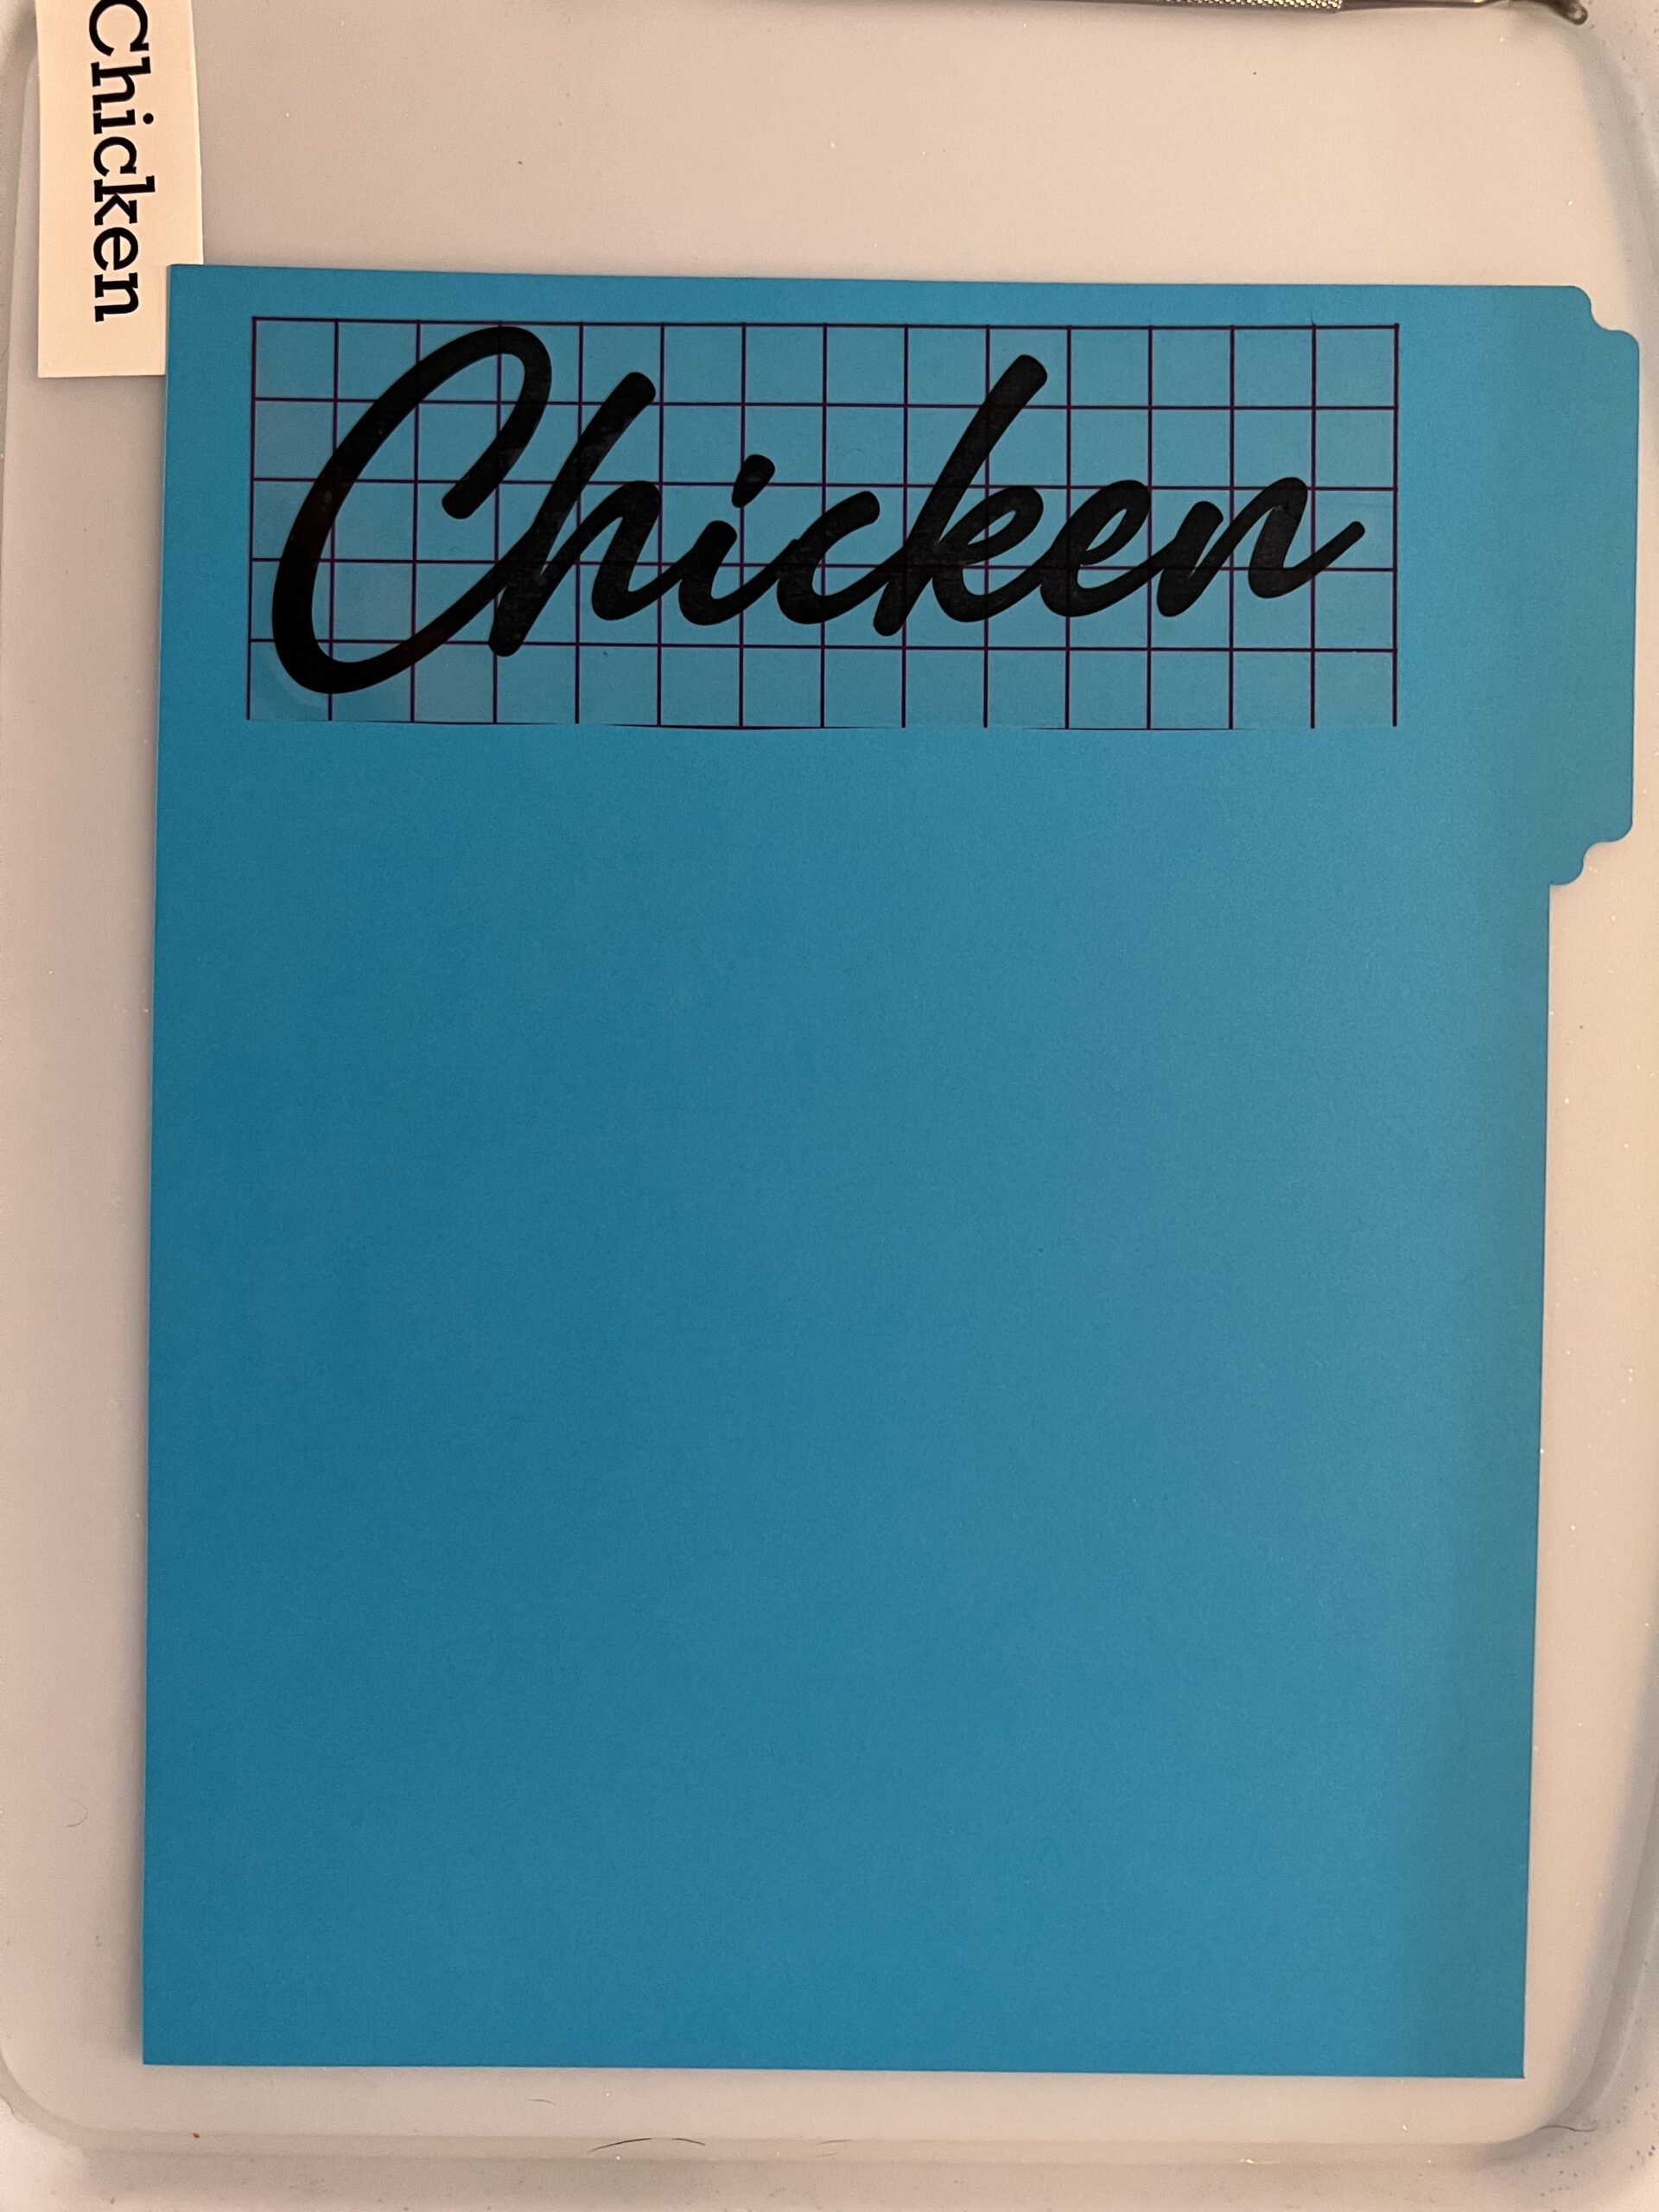
Now apply your vinyl or stickers to the divider. This part of the process can be a little tricky. Once you’ve applied the vinyl or sticker to the surface, you will not be able to remove it so make sure you know exactly where you want to place it. If you’re using transfer tape and vinyl, I recommend holding them at least 2 inches above the binder before placing them on the card stock. Now, if the stickers aren’t a single sheet, but rather individual pieces, you can plan the design out ahead of time and peel the backing off each sticker as you go.
Once you’re done adding all your personal touches, all you have left to do is add holes and add to a binder! Now it’s time to admire your work. Since my theme was simple and elegant, I didn’t add too many additional elements to my dividers.
Other Projects this can be used for
With so many uses, this project is perfect for sprucing up the home office or organizing important documents, It also makes a great end-of-summer project for the kids before school starts. This project also makes a great gift, especially if you know someone who loves to cook or bake. It’s perfect for those with limited storage space in their kitchen but who still want a way to organize their recipes. The possibilities are endless!
A Gift That Will Remind Them of You Every Time They Cook
To sum things up, these binders aren’t only a great way to keep your recipes organized, but they make for a heartfelt gift for the foodie in your life. Whether you’re using them as scrapbooks or to present an original cookbook to your favorite chef on a special occasion, these binder dividers will not disappoint. Being able to take an everyday object and make it a little special for someone you love has always been one of the best parts of crafting.
-

Custom Business Cards with Canva
In today’s fast-paced business world, having a well-designed business card can be more important…
-
Custom Binder Dividers
Do you know someone that has years of saved delicious…
-
Welcome!
Welcome to Holographic Rainbow Kitties! We’re so excited to have…
Leave a Reply